Simply create a custom cookie without knowledge of JavaScript using the Tag Cookie Creator. Before the arrival of custom templates in Google Tag Manager, creating a cookie required going through an HTML custom tag that could not be very comfortable to handle without special knowledge of JavaScript! Since the arrival of custom templates, one of the APIs made available by Google gives us the possibility to set cookies from a custom tag. My purpose in this article is not to explain what a Cookie is and how is it composed but to explain how to use the Tag to create it.
Load The Custom Tag from the Community Template Gallery
Important message: I’m not a developer, I’m using GTM Custom Template for my own personal enjoyment, learning Javascript and help GTM users to let their experiences easier!
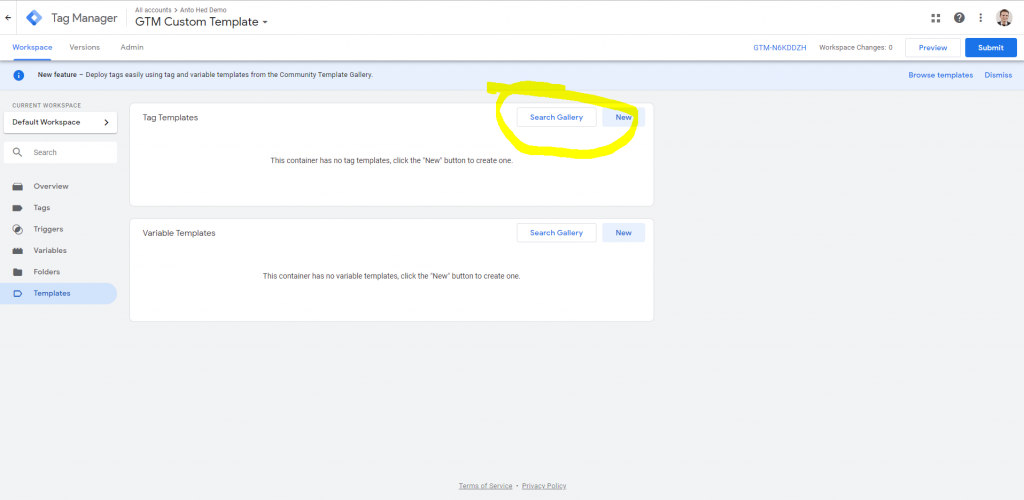
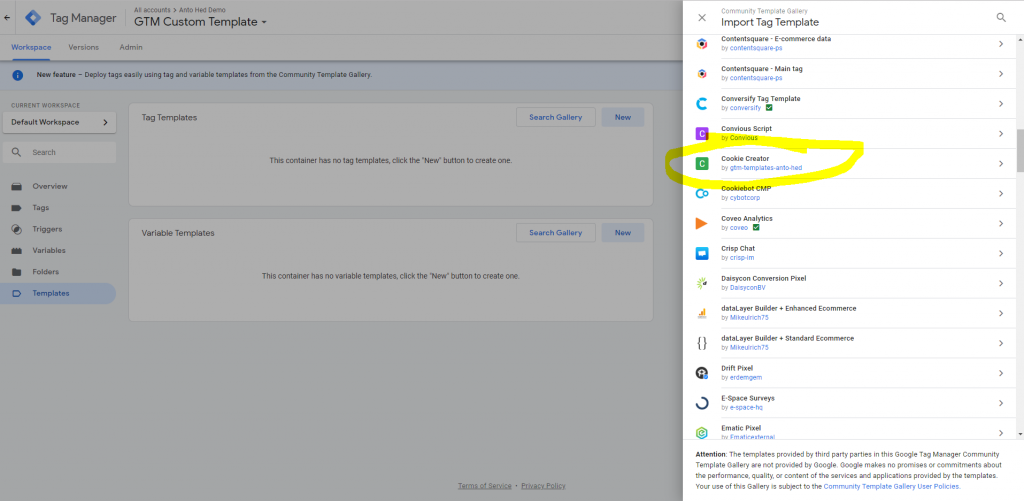
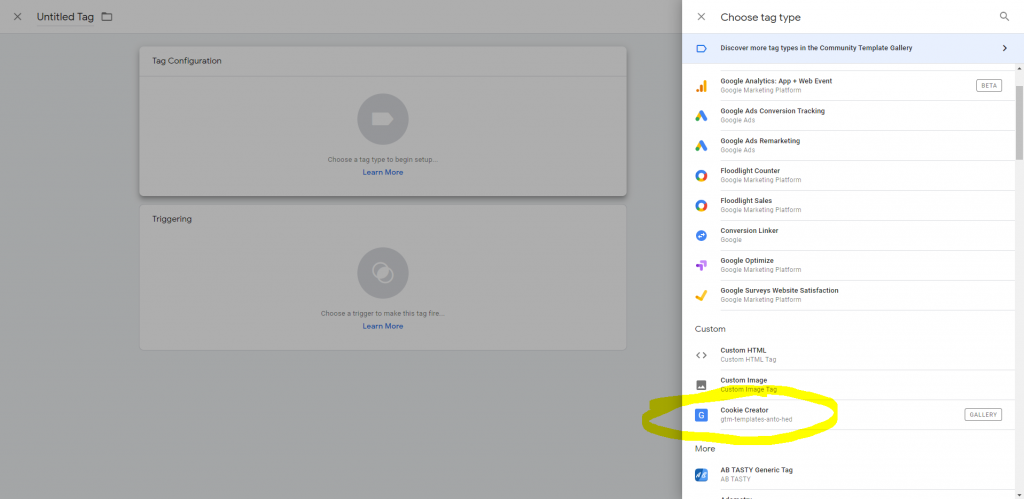
Let’s start with the first step which is to choose a Tag from the Community Template Gallery
And to add to your workspace the Cookie Creator Tag Template
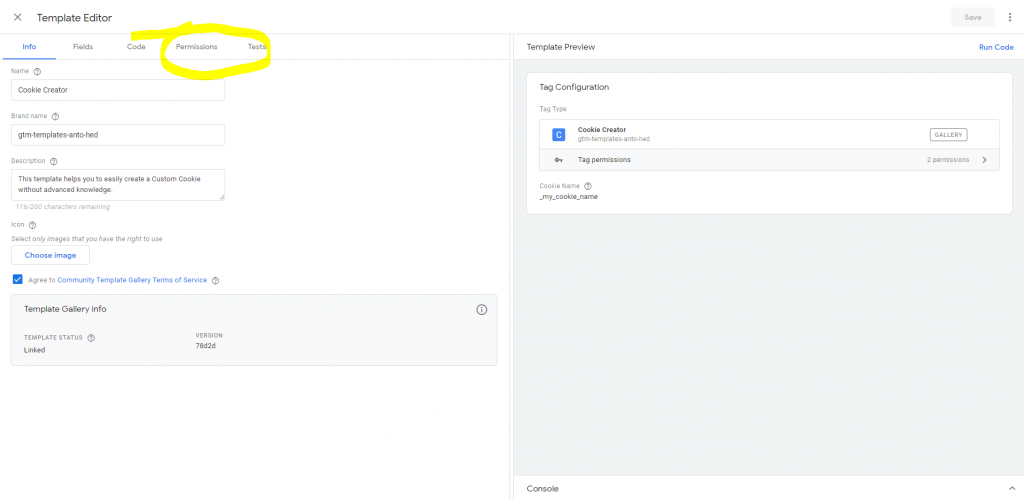
There is only one very important step left before you can use the tag! You must allow the custom Tag to initialize your Cookie in the Template Editor permissions.
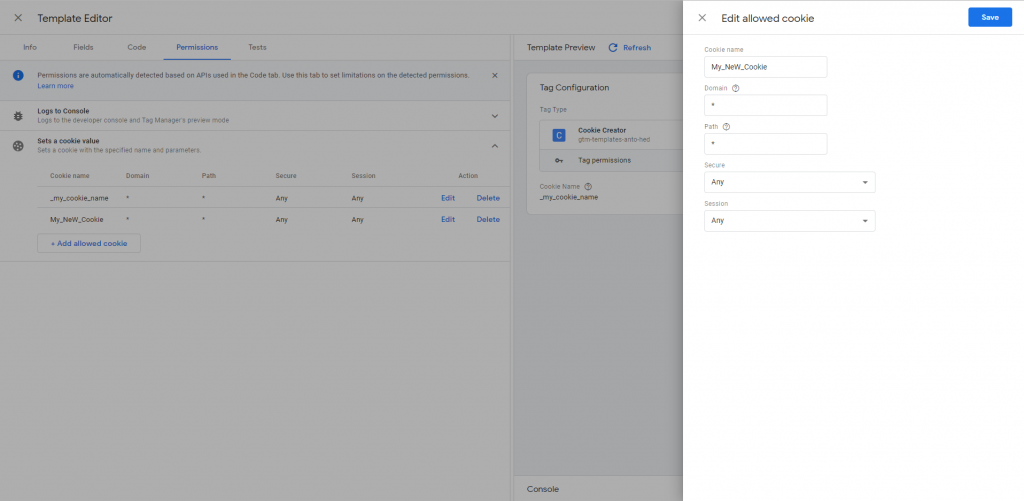
Initialize the Tag permissions: Add allowed Cookie
To set a cookie, You must allow the cookie by specifying its settings in the permission tab. The name of the cookie must be similar to the name used in the field. If you want to get more information about Permission and Google Tag Manager Templates, you can read the complete guide of Simo Ahava.
You must allow the cookie by specifying its settings in the permission tab. The name of the cookie must be similar to the name used in the field.
For allowed Cookie Name Permission :
Go on your GTM container :
- Click on: Templates
- Click on: Tag Templates (Cookie Creator)
- Click on: Permissions
- Click on: Sets a cookie value
- Click on: +Add allowed cookie
- Fill: “Cookie Name” by the name of your Cookie
- Fill: “Domaine” & “Path” and enter “*” if you want the cookie to be allowed to be dropped anywhere (you can change these settings in the advanced settings of the Tag)
- Click on Save and continue
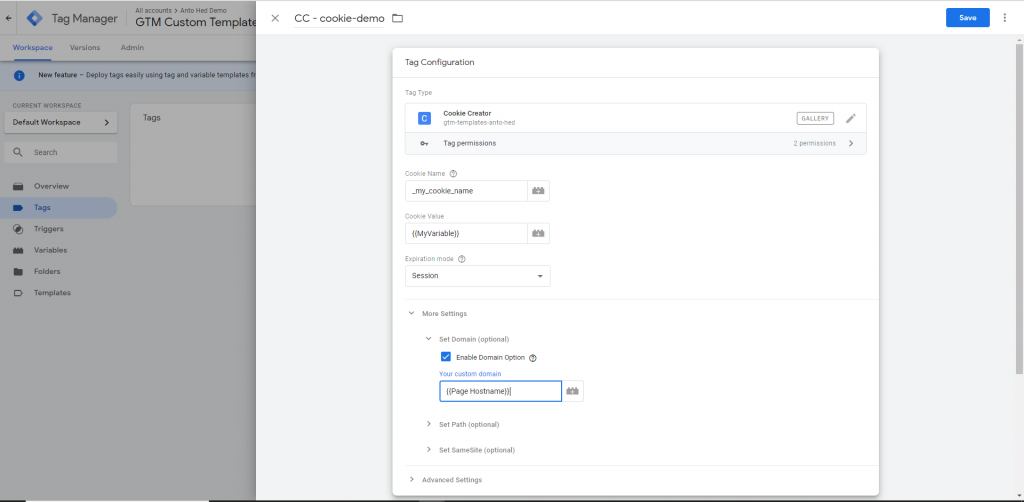
Configure Tag Cookie Creator
You are now ready to use the Tag Cookie Creator in the best conditions by adding a new Tag from your gallery.
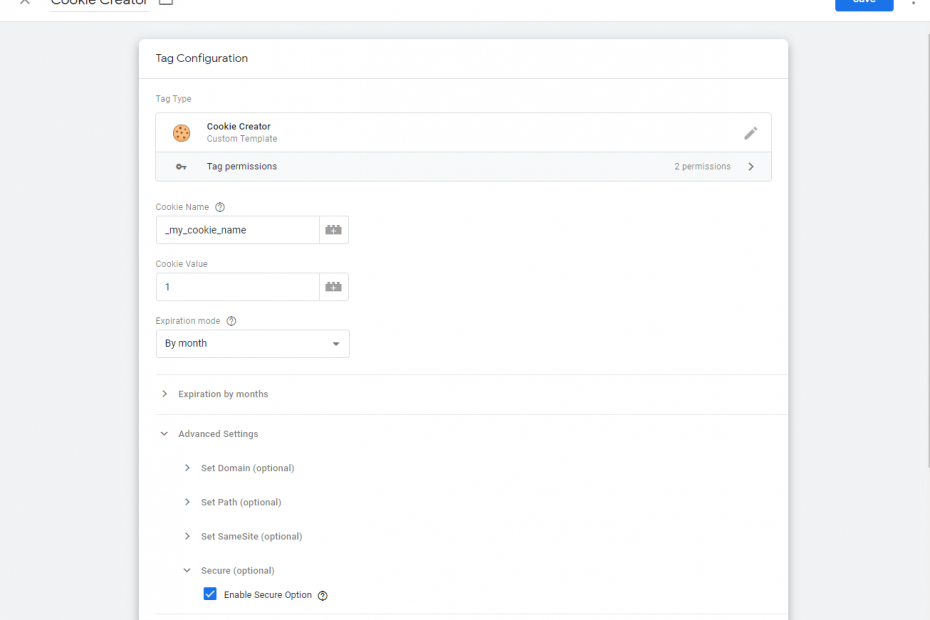
Basic setup
1- Cookie Name: Add a Cookie Name. You must enter a cookie name that you have previously authorized in the Custom Tag permission settings.
2- Cookie Value: Define value for the cookie. You can choose all variable available in your Google Tag Manager configuration
3- Cookie Expiration: Specified the duration of your cookie, if session is selected, the cookie becomes a session cookie. A session finishes when the client shuts down, and session cookies will be removed. You can choose different modes of expiration. If you selected the Custom Expiration Date, you must strictly respect a date format example : Wed, 21 Oct 2015 07:28:00 GMT
Include in More Settings (optional)
4- Set a domain: the hostname that the cookie will be placed, auto by default.
5- Set a path: assigned to a specific page. By default, the cookie will be set on all pages inner to “/”
6- Same site: Affirms that a cookie should not be sent with cross-requests, it’s useful against potential attack: if you need more info about this functionality: https://www.simoahava.com/gtm-tips/chrome-samesite-warnings-google-tag-manager/
How to test my Custom Cookie ?
I will show you more concretely about how to use the tag and how to check that it works correctly. Let’s take as an example: the links of some of your email campaigns have interesting information from your CRM about the user such as a specific identifier or his number of purchases to his credit… You want to send this information to Google Analytics but you don’t have the ability to have your development teams do it. You then have the idea to retrieve this information contained in the URL settings of the link clicked in the email and then store it in a cookie to retrieve it when the user has made a transaction on your site!
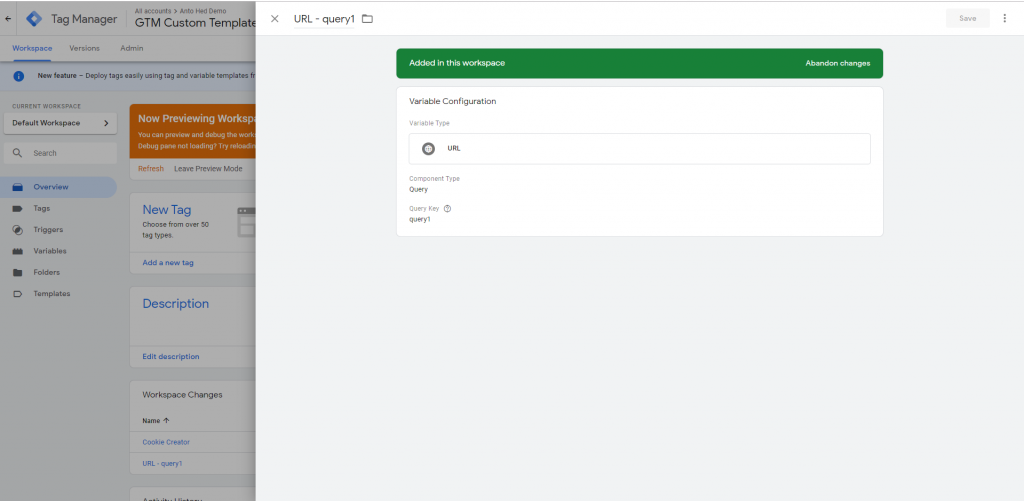
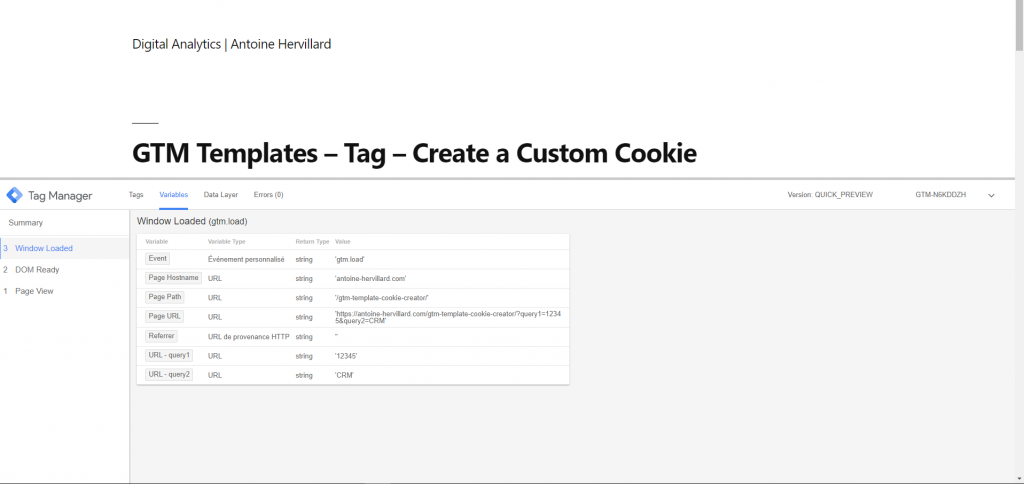
1- Capture info in a variable based on URL query parameter
Let’s imagine that the link contained in your email contains: antoine-hevillard.com/?query1=12345&query2=CRM
Now capture the information contained in the URL parameters with a variable type URL. Repeat the same process for capture the query2 & check in preview.
2- Create the Cookie Tag
I hope that this Custom Tag will be useful for you. Feel free to use the comment area to let me know about your use/bug/improvement.